LED pixel dots: the quest for quality
Quality difference in pixel dots can be drastic, though not easily visible.
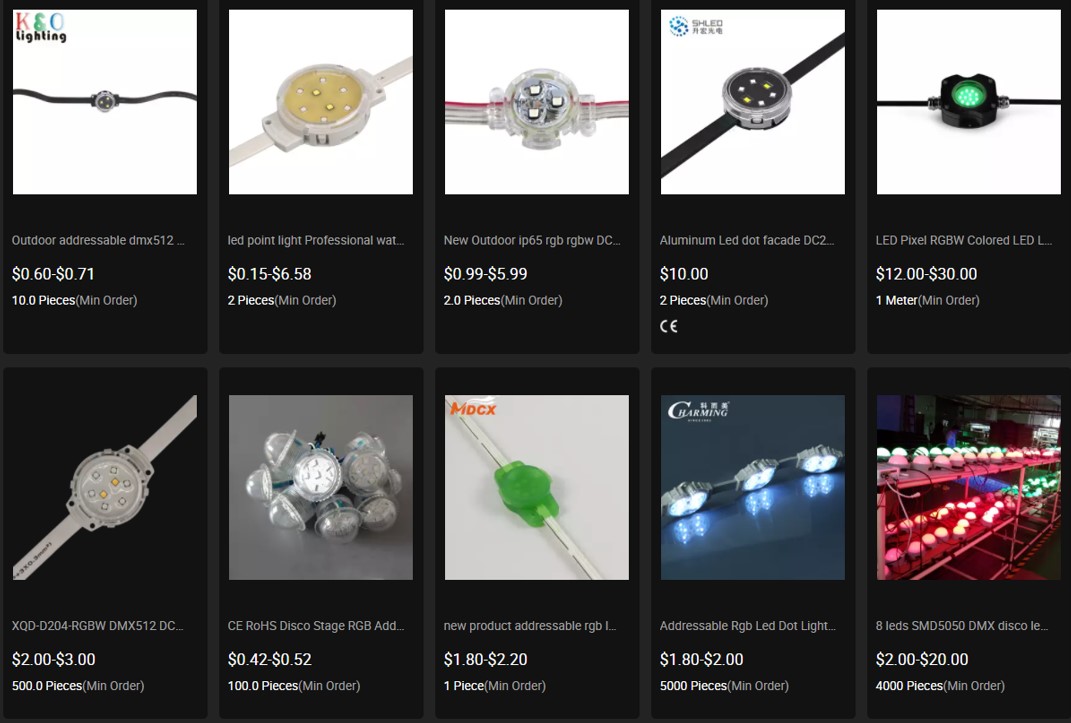
When looking into quoting up a pixel project involving dots, you’re again bombarded with options from online vendors like Alibaba. Doing a simple search for “pixel dots” on Alibaba for example yields pages of results:
Price
The prices seem remarkably low too – you’ll even find options listed for under $1 each! When you compare this against higher-end options which may be somewhere between $15-$20 each, it can be hard to justify choosing the more expensive option. However, there are a few things you should keep in mind.
Firstly, the price you see on the website is often a ploy to get you interested and open a dialogue with the manufacturer in question. In our own ‘experiment’ we saw that while the price on the website was $0.30, once you begin talking, you quickly find out that the website product is ‘discontinued’ or otherwise unavailable. So the actual quoted price came to $6.50 per dot, for a 24V dot with 6 RGB LEDs on it. Still not bad value, right? Well, when you consider that it’s $6.50 USD per dot, you start to see the price difference narrow dramatically.
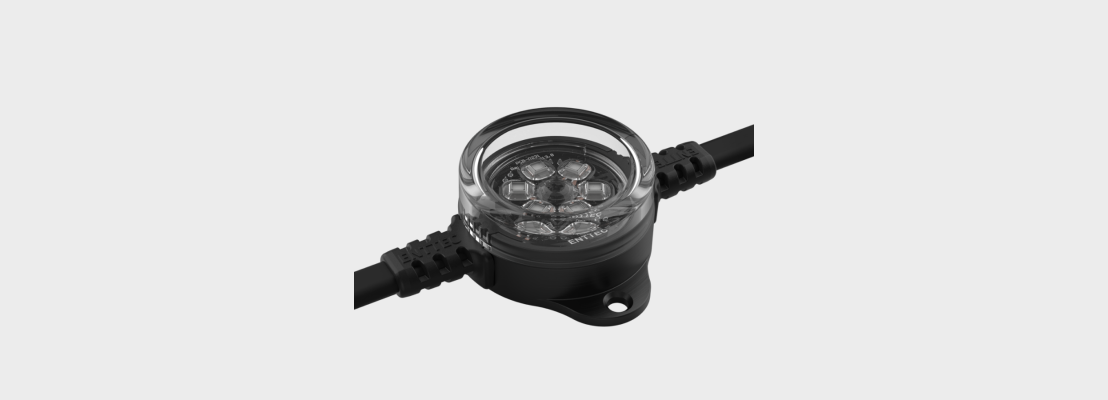
“That’s fine!” you say. “Even after all this, it’s still half the price!” Well, let’s get more scientific and compare the dot surfaces between a cheap, generic product and ENTTEC’s Australian-designed and made SMART PXL series.
Both have the components covered with a clear epoxy or PU resin to ensure they are waterproof. At ENTTEC, we are aware that certain polymers can degrade over time. In fact, a lot of resins will yellow with UV exposure when they have the sun beating down on them. Discoloured resin will of course skew the colour of your dots’ light output. The ENTTEC dots, however, are made with a more expensive UV-resistant, optically clear polyurethane resin. This helps the product resist yellowing over time as well as keeping the resin somewhat flexible so it doesn’t go brittle and crack from repeated thermal cycling over the years.
Construction
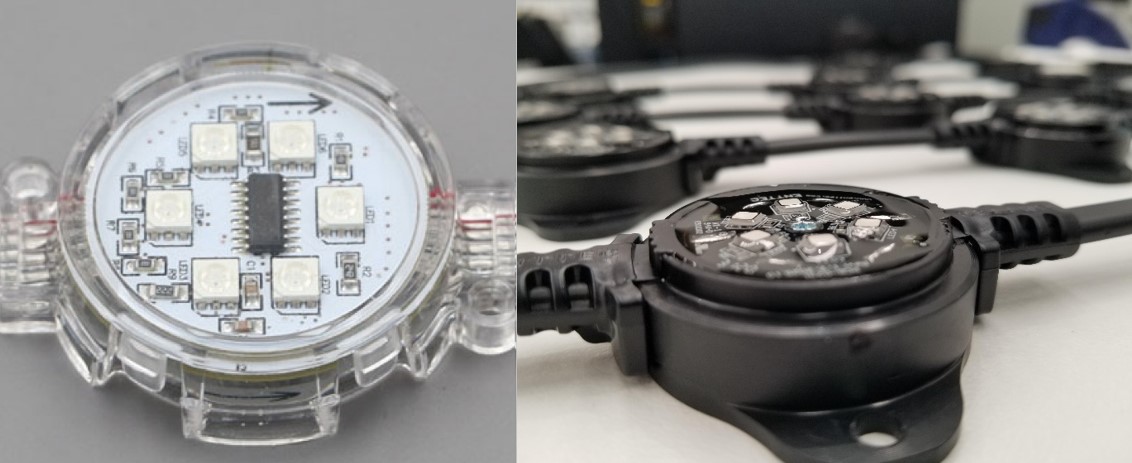
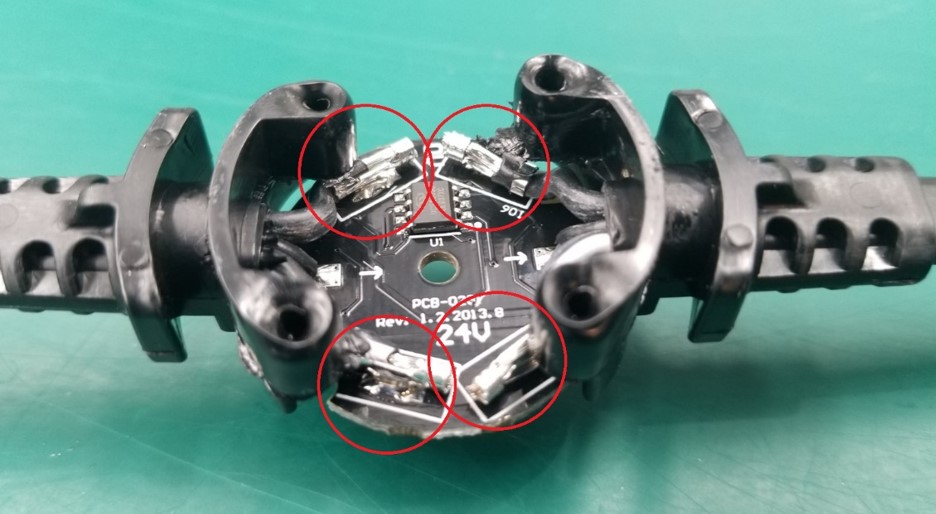
Let’s look at how these dots are constructed. This isn’t something you can generally see just by looking superficially at the dot but is something you can see once opening it up or dismantling it. First let’s look at a cheaper option:
What we can see here is that the wires simply soldered onto the PCB pads, and the whole assembly then encapsulated. If you’ve done much soldering at all you’ll know that even a good cable-pad solder joint is still relatively weak. Tension may not break the solder joint immediately but can easily pull the pad clean off the board. This is stabilised by the resin somewhat but is still a weaker joint that could more easily give way over time after temperature and load cycles.
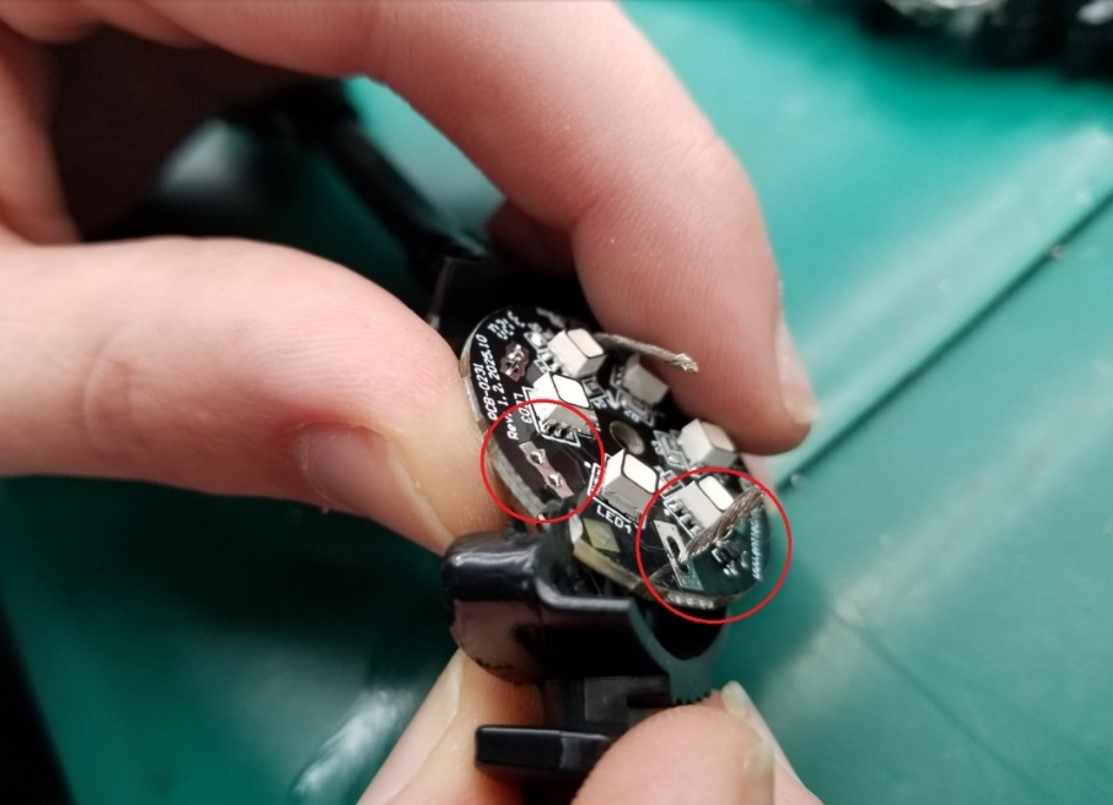
Now let’s have a look at how the ENTTEC dot differs. Power connections – VCC and ground aren’t simply soldered to a pad. Instead, the thick copper cable is crimped into a Molex crimp connector. This has prongs that pierce through corresponding holes in the PCB. This makes for a sturdy mechanical connection even before solder is applied.

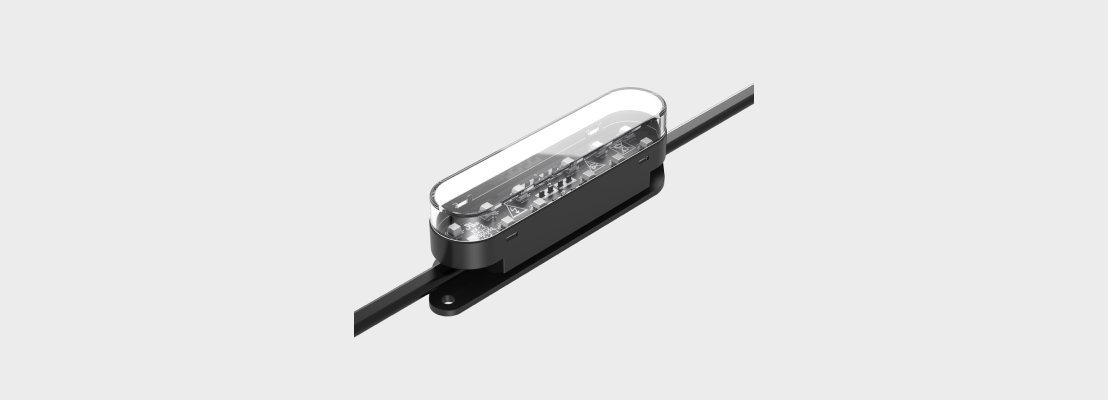
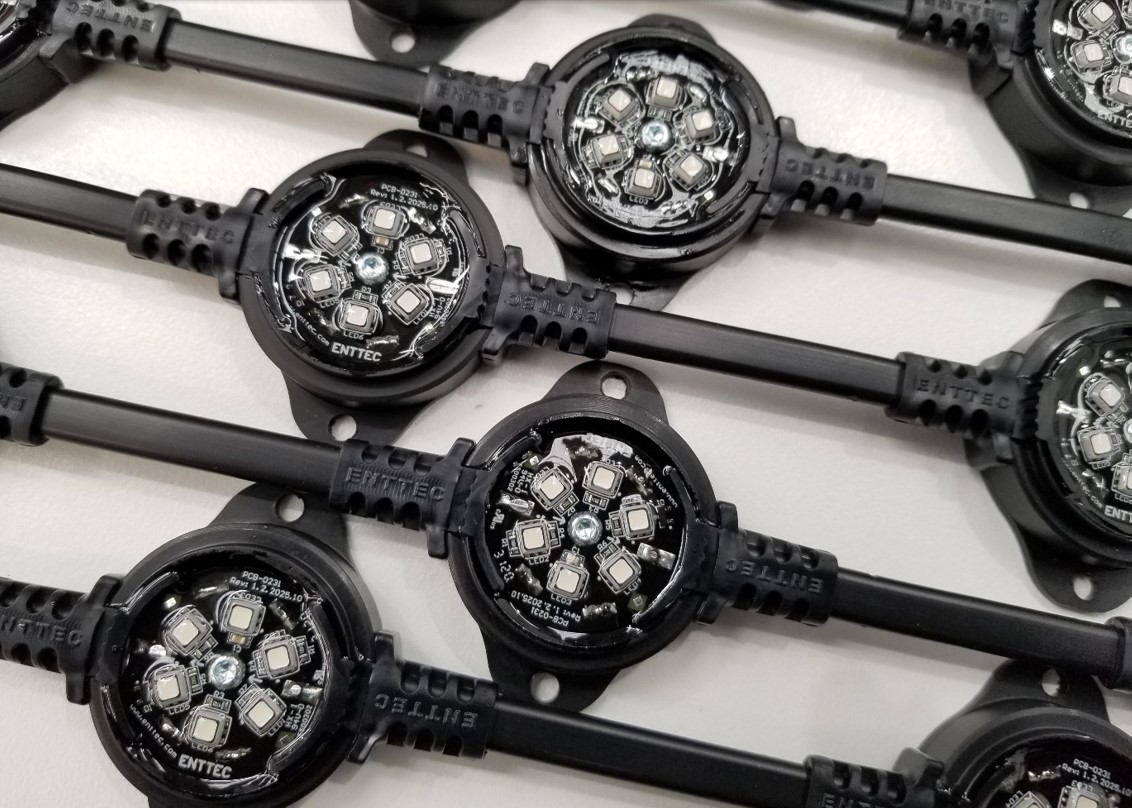
This is all then assembled into a robust outer case (made from either machined aluminium or UV-resistant injection-moulded PVC depending upon the model in question), where the polymer over-mould fits snugly into a recess. Finally, the whole assembly is potted in UV-resistant, optically clear, PU resin. Strain on the cables whether it’s from handling during installation, or cyclic strain from wind.
Is borne by the over-mould, spreading that strain across the solid body. The PU resin helps to absorb some of that as well. Finally the electrical connections feature a strong physical connection to the PCB. All of this ensures that you get a product that stands up to harsh conditions and keeps operating solidly throughout years of continuous operation.
Conclusion
That’s a lot of engineering just for a pixel dot – so why is it necessary?
Well, in the long run, it makes more sense to opt for the primo product, because it means less maintenance. Yes, you could buy two sets of the cheaper dots for the same price, but then you also need to factor in the costs associated with maintenance/replacement. First, you have to partially or totally shut down the area. Which could be difficult if it’s a popular public outdoor area. Then you have to factor in labour and time to replace the strings, not to mention any specialized equipment like cherry pickers to get up into difficult places. Then of course there is the inconvenience and lost productivity – if you’re stuck maintaining a job, that’s one less opportunity you could be out on a new job.
Pixel lighting is growing in popularity and with that, we’re seeing more and more options appear using different types of gear. It can be a bit difficult to spot meaningful differences sometimes, but we hope this rundown can give you some tips on what to look out for.